Pickled okra is one of those things you either grew up eating or discovered later and thought, “Where has this been all my life?” Tangy, slightly crunchy, and with just enough spice to make it interesting, pickled okra can elevate a charcuterie board, liven up a sandwich, or be eaten straight from the jar.
If you’ve ever thought about making your own, good news: it’s easier than you think. With a few fresh ingredients and a little time, you can create your own pickled okra masterpiece right at home.
Why Make Pickled Okra at Home?
Store-bought pickles are fine, but there’s something special about making your own. Here’s why it’s worth the effort:
- It’s a great way to use up an abundance of fresh okra during the season.
- You control the flavors—make them spicy, garlicky, or keep it classic.
- Homemade pickles often taste fresher and have fewer preservatives.
Plus, pickling at home is oddly satisfying. There’s nothing quite like pulling out a jar and thinking, “I made this!”
Selecting the Best Okra for Pickling
The key to good pickled okra starts with choosing the right pods. Here’s what to look for:
- Freshness: Bright green, firm pods are ideal. Wilted or bruised okra won’t hold up well in the brine.
- Size: Smaller pods are your best bet—they’re tender, fit better in jars, and pickle more evenly.
- No blemishes: Avoid any pods with soft spots or discoloration.
Once you’ve got your okra, rinse it thoroughly and pat it dry before moving on.
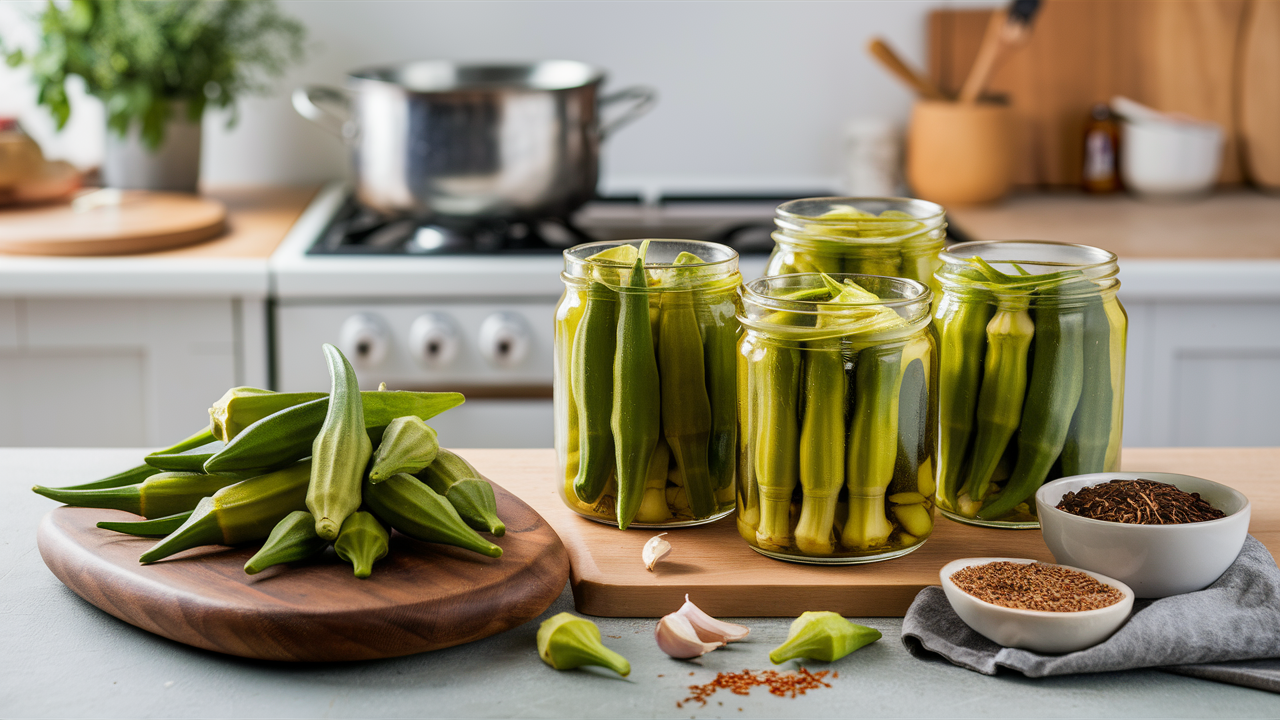
Ingredients and Tools You’ll Need
Ingredients
- 1 pound of fresh okra
- 1 ½ cups white vinegar or apple cider vinegar
- 1 ½ cups water
- 2 tablespoons pickling salt
- 3 garlic cloves, peeled
- 1 teaspoon mustard seeds
- 1 teaspoon dill seeds or fresh dill sprigs
- 1-2 dried chilies (optional, for heat)
Tools
- Mason jars with lids (pint-size works best)
- A saucepan for the brine
- A large pot for boiling water (if processing the jars for shelf-stable pickles)
Step-by-Step: How to Pickle Okra
Step 1: Sterilize Your Jars
If you’re making shelf-stable pickles, start by sterilizing your jars. Boil them in a large pot of water for 10 minutes, then let them air-dry. If you’re refrigerating the pickles, a good wash with hot, soapy water is fine.
Step 2: Prepare the Okra
Trim the stems of the okra, leaving about ¼ inch attached. This helps keep the pods intact while they pickle.
Step 3: Pack the Jars
Stand the okra upright in the jars, stem-side up. Add a garlic clove, mustard seeds, dill, and chili (if using) to each jar. Don’t overpack—leave enough room for the brine to circulate.
Step 4: Make the Brine
In a saucepan, combine vinegar, water, and pickling salt. Bring the mixture to a boil, stirring until the salt is fully dissolved.
Step 5: Add the Brine
Carefully pour the hot brine over the okra in the jars, making sure all the pods are fully submerged. Leave about ½ inch of headspace at the top of each jar.
Step 6: Seal the Jars
Wipe the rims of the jars to ensure a clean seal. Place the lids on top and screw on the bands until they’re snug but not too tight.
Step 7: Process (Optional)
If you’re making shelf-stable pickles, process the jars in a boiling water bath for 10 minutes. Otherwise, let the jars cool to room temperature and refrigerate them.
How Long to Wait Before Eating
Patience is key with pickled okra. While it’s tempting to crack open a jar right away, the flavors need time to develop. Wait at least 48 hours, but for the best taste, let them sit for a week.
Tips for Perfect Pickled Okra
- To avoid sliminess, don’t puncture the pods when trimming or packing. Keeping the okra intact helps reduce its natural mucilage.
- Adjust the spice level to your liking by adding extra chilies or a pinch of red pepper flakes.
- Experiment with other flavors, like bay leaves, black peppercorns, or even a slice of fresh jalapeño.
How to Use Pickled Okra
Pickled okra isn’t just for snacking (though it’s great for that). Here are a few ideas:
- Add it to a charcuterie or cheese board for a tangy twist.
- Use it as a garnish for bloody marys.
- Slice it up and toss it into salads for extra crunch.
- Serve it as a unique side dish at barbecues or picnics.
Storage and Shelf Life
- Refrigerated Pickles: If stored in the fridge, pickled okra will stay fresh for up to three months.
- Shelf-Stable Pickles: If processed in a boiling water bath, they can last up to a year in a cool, dark place.
Frequently Asked Questions
Can I pickle frozen okra?
Fresh okra is best for pickling. Frozen okra tends to become mushy during the process, which affects the texture.
Do I have to use dill?
Not at all! Dill is traditional, but you can skip it or substitute it with other herbs like thyme or basil.
How do I know if my pickles are spoiled?
Spoiled pickles may show signs of mold, off smells, or a failed seal. Always inspect jars carefully before consuming.
Why Pickling Okra is Worth It
Pickling okra is an easy, rewarding way to enjoy this unique vegetable all year long. Whether you’re looking for a tangy snack, a fun garnish, or a way to preserve a seasonal surplus, homemade pickled okra delivers.
So grab some fresh pods, a few jars, and your favorite spices, and get started. Once you’ve tasted your own pickled okra, you’ll wonder why you didn’t try it sooner.