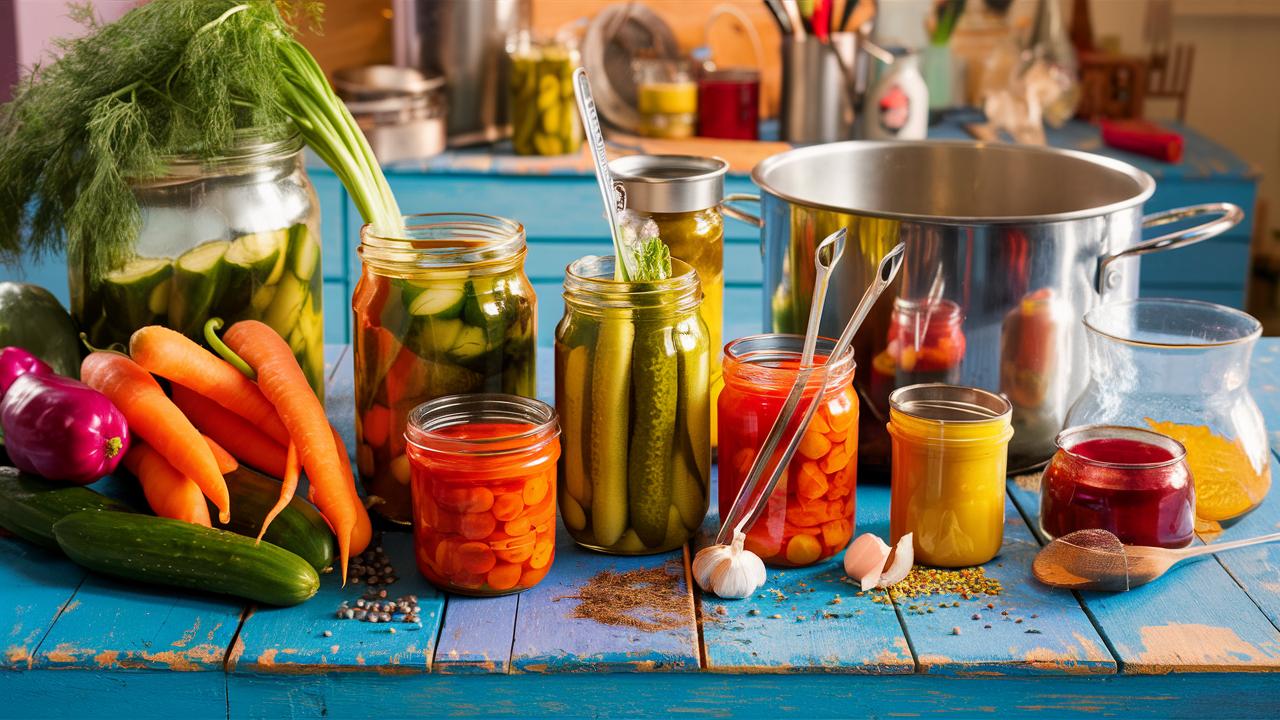
Let me set the scene: it’s late summer, and your kitchen counter is piled high with cucumbers. You promised yourself you wouldn’t go overboard at the farmers’ market, but here you are, staring at enough cucumbers to fill an Olympic-sized pool. Now what? The answer, my friend, is pickles.
Canning pickles at home is part science, part art, and entirely rewarding. Sure, the first time might feel like you’re juggling a dozen tasks at once—sterilizing jars, mixing brine, and trying not to burn yourself—but once you hear that satisfying “pop” of a sealed jar, you’ll be hooked. Let’s dive into the hows, whys, and a few hard-earned lessons about making pickles.
Why Home-Canned Pickles Are the Best Thing Ever
Let’s be honest—store-bought pickles get the job done. But do they bring joy? Do they make you puff up with pride every time someone says, “Wow, these are good!”? I didn’t think so. Making pickles at home is about more than just taste. It’s about creativity, control, and a little bit of magic.
Here’s why you should give it a go:
- Flavor Freedom: Spicy dill? Sweet bread-and-butter? Garlic overload? You get to decide.
- No Mystery Ingredients: You control what goes in—no weird preservatives or artificial colors.
- Save Cucumbers from Doom: If you’ve got a garden (or a neighbor who over-planted), this is a fantastic way to avoid waste.
- It’s Weirdly Fun: There’s something deeply satisfying about turning raw cucumbers into crunchy, tangy pickles that last for months.
And let’s not forget the ultimate perk: you get to casually mention, “Oh, I made these,” at every potluck and picnic.
What You’ll Need to Get Started
Before you roll up your sleeves, let’s talk gear and groceries. You don’t need a fancy setup, but there are a few essentials you can’t skip.
Tools
- Mason Jars: Go for pint-sized jars—they’re perfect for pickles. Check that they’re clean and chip-free.
- New Lids and Rings: Lids must be new for a proper seal, but you can reuse the rings.
- Big Pot: Any large stockpot will work for the water bath.
- Jar Lifter: Trust me, don’t try to wing it with regular tongs. You’ll thank me later.
- Funnel and Ladle: Not mandatory, but they make life easier when dealing with hot brine.
Ingredients
- Cucumbers: Pick small, firm cucumbers—Kirby and Persian are ideal. Avoid the wax-coated grocery store kind.
- Vinegar: White vinegar is classic, but apple cider vinegar adds a sweeter, mellower vibe.
- Salt: Use pickling or kosher salt. Table salt? Nope. It’ll mess with your brine.
- Spices: Dill seeds, mustard seeds, garlic cloves, red pepper flakes…whatever makes your taste buds happy.
How to Can Pickles: A Step-by-Step Adventure
Here’s the deal: canning pickles isn’t hard, but it does require focus. Think of it like following a recipe while playing a game of “hot potato” with boiling water. Fun, right?
Step 1: Prep the Cucumbers
Wash your cucumbers like your life depends on it. Trim off the blossom end (the one that was attached to the flower). If you’re going for spears or chips, slice them up. Pro tip: soak them in ice water for an hour before pickling. It’s the secret to ultimate crunch.
Step 2: Sterilize the Jars
Put your jars in a big pot of boiling water and let them simmer for 10 minutes. This isn’t the time to cut corners—clean jars are non-negotiable.
Step 3: Make the Brine
Combine vinegar, water, salt, and a pinch of sugar (if you’re into sweet pickles) in a saucepan. Heat it up until everything dissolves. This is where your pickles get their zing, so don’t skimp.
Quick Brine Recipe:
- 2 cups white vinegar
- 2 cups water
- 2 tablespoons pickling salt
- Optional: 1 tablespoon sugar
Step 4: Pack the Jars
Stuff those jars like you’re packing a suitcase before vacation. Add your cucumbers and layer in spices as you go. Dill sprigs, garlic cloves, peppercorns—this is your moment to shine.
Step 5: Pour the Brine
Carefully ladle the hot brine into the jars, making sure the cucumbers are fully submerged. Leave about ½ inch of space at the top.
Step 6: Seal and Process
Wipe the rims (because brine spills happen), screw on the lids, and place the jars in your boiling water bath. Process for 10 minutes, then remove them to cool. As the jars cool, you’ll hear a delightful “pop” as they seal. It’s basically a round of applause from your jars.
What I Wish Someone Had Told Me Before I Started
- Don’t Skip the Ice Water Soak: I thought it was optional. My mushy first batch says otherwise.
- Label Everything: You think you’ll remember what’s in each jar? You won’t. Trust me.
- Brine Tasting is Key: If the brine tastes off, your pickles will too. Fix it before you pour it.
Troubleshooting: Because Things Happen
Why are my pickles soft?
Blame the blossom end or overcooking. Always cut off that end and keep processing time precise.
Why is my brine cloudy?
Probably table salt or hard water. Stick with pickling salt and filtered water.
The jar didn’t seal. What now?
Don’t panic. Refrigerate the jar and enjoy those pickles first.
Ready to Pickle?
Canning pickles is one of those things that seems tricky until you try it. Then it becomes a little addictive. You’ll start looking at carrots, green beans, and even peaches, wondering, “Can I pickle that?” (Spoiler: yes, you can.)
So, grab some cucumbers, crank up your favorite playlist, and get started. The world needs more good pickles—and you’re just the person to make them.

